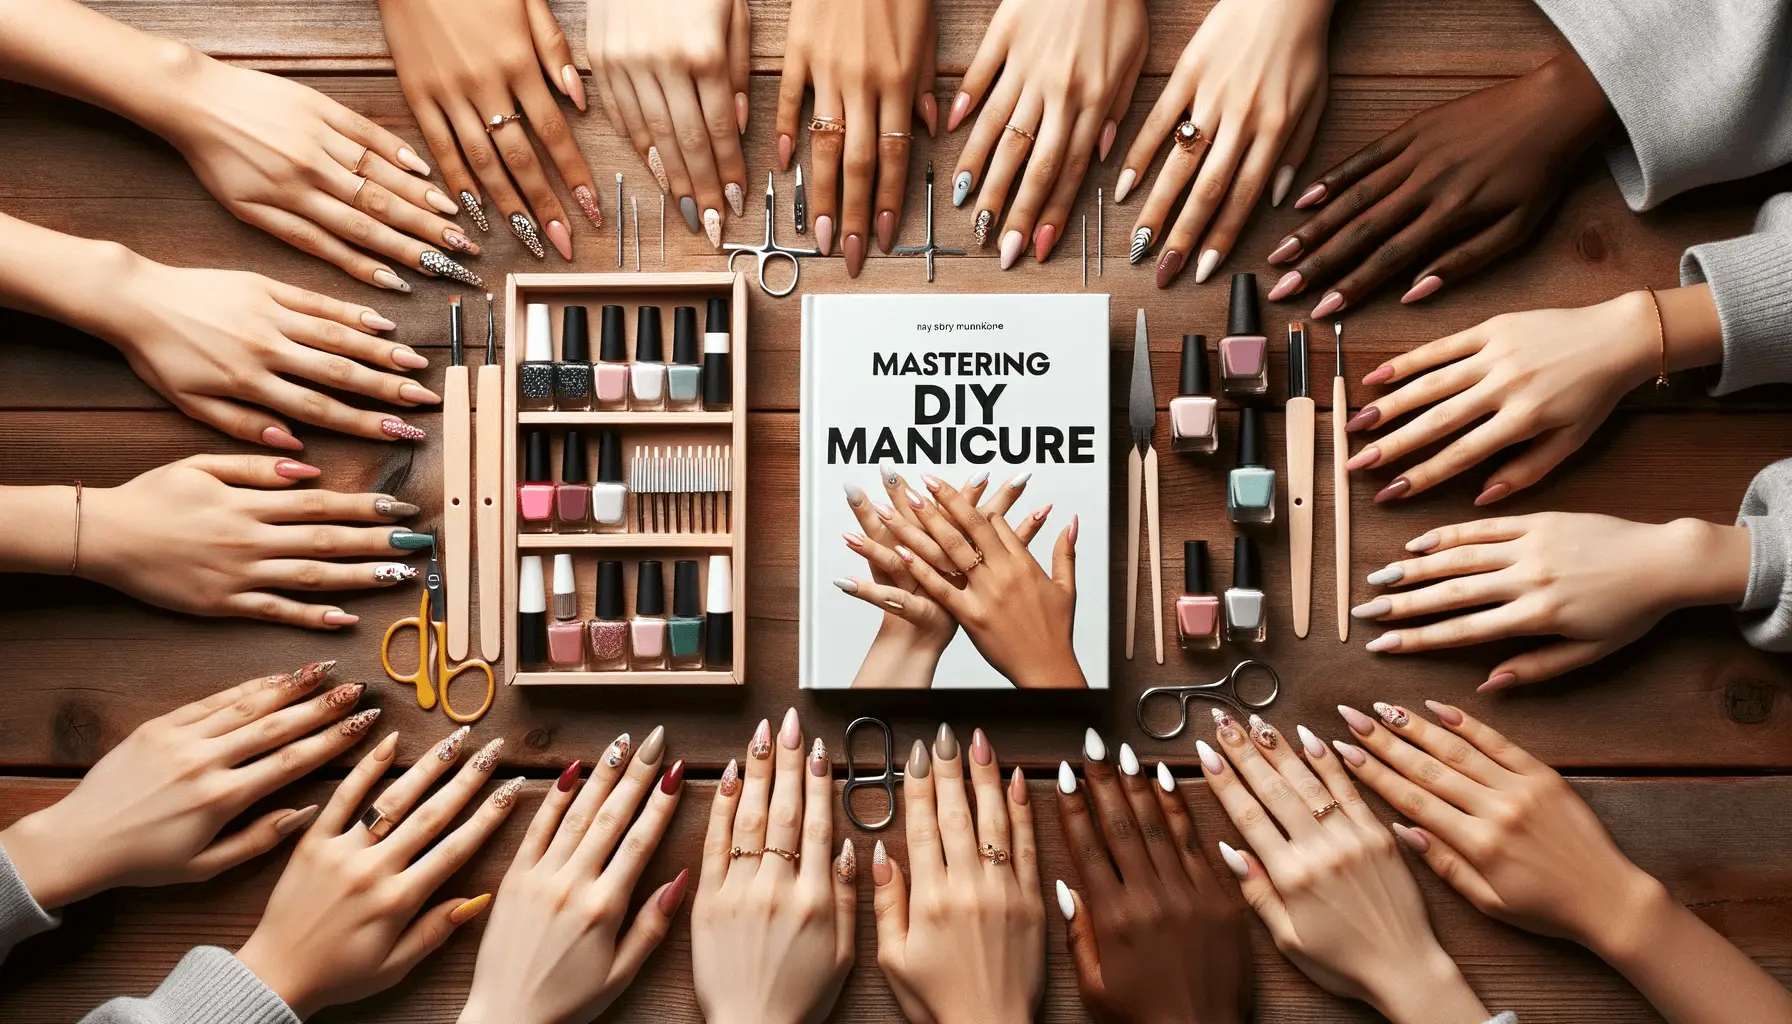
Everyone loves the feeling of freshly manicured nails. But sometimes, making a trip to the salon isn’t feasible. Why not bring the salon to your home? Here’s a comprehensive guide for DIY manicure to help you achieve that salon-quality look from the comfort of your couch. Ready to get started?
Why DIY Manicure?
Who doesn’t adore the professional touch of a salon manicure? But, sometimes, our schedules, budgets, or global pandemics get in the way. That’s when mastering the art of the DIY manicure comes into play. It’s cost-effective and convenient, and with the right techniques, you can achieve results that rival any professional salon.
Essential Tools for Your DIY Manicure
Before you start, make sure you’ve gathered all the necessary tools. Here’s a breakdown:
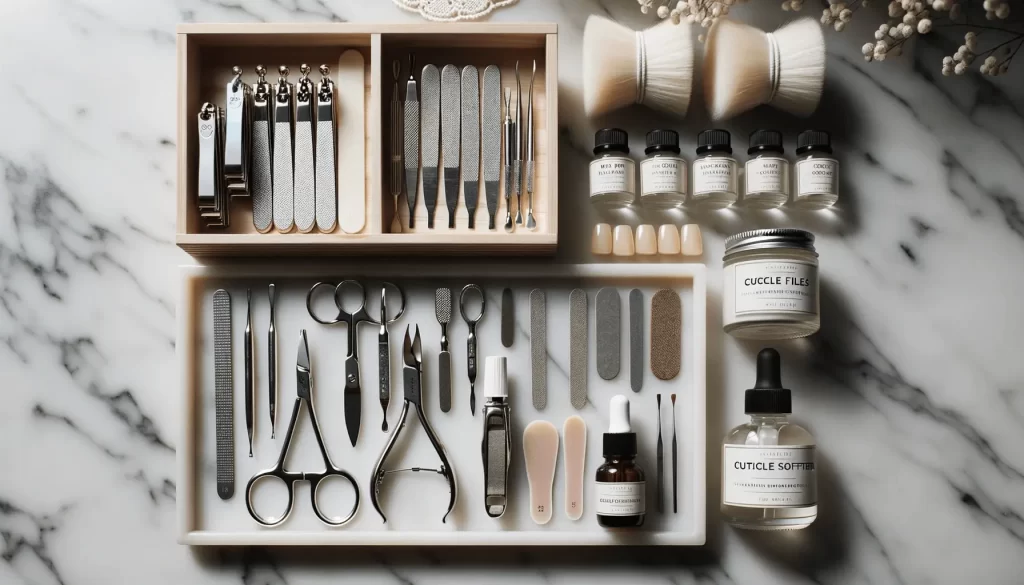
Nail Clippers and Files
Begin with the basics. A good set of nail clippers and files are key. Make sure to choose a file that isn’t too coarse to prevent nail damage.
Cuticle Removers and Pushers
Healthy cuticles are an essential part of a polished look. Cuticle removers soften the skin, making it easier to push back or trim.
Nail Brushes
A soft nail brush can be used to clean under the nails and remove any residual dust after filing.
Base and Top Coats
Never underestimate the power of a good base and top coat. They’ll protect your nails and give your polish a glossy, finished look.
Prepping Your Nails for DIY Manicure
Cleaning and Softening
Before you start, make sure your nails are clean and free of old polish. Soak your fingers in warm, soapy water for a few minutes to soften the nails and cuticles.
Shaping Your Nails
Using your file, gently shape your nails in your desired style. Whether you like them round, square, or somewhere in between, always file in one direction to prevent splitting.
Caring for Your Cuticles
Apply a cuticle remover, wait for a few minutes, then gently push back the cuticles using the cuticle pusher.
Applying Polish Like a Pro
The Role of the Base Coat
Start with a thin layer of base coat. It not only protects your nails but also provides a smooth surface for the colored polish.
Coloring with Precision
Choose your favorite shade and apply in thin, even strokes. Start from the base and move to the tip. Usually, two coats give the best result.
Securing with a Top Coat
After your color has dried, finish with a top coat to seal in the polish and add a glossy finish.
Conclusion: Flaunting Your Perfect DIY Manicure
Mastering the art of the DIY manicure is not just about saving money or time; it’s about empowering yourself with the skills to look and feel your best on your terms. And while a home manicure can give you a sense of accomplishment, there’s also something magical about a professional touch. If you ever feel the need for a professional manicure, especially the chic and sexy Russian style, don’t hesitate to visit The Chic Beauty Bar. We offer top-notch nail services that will make you feel pampered and fabulous!
Typically, once every two weeks is sufficient, but it depends on your nail growth and how quickly your polish chips.
Absolutely! Olive oil is a great natural moisturizer for cuticles.
It’s best to wait at least 2 minutes between coats to ensure proper drying.